Back to Blender

Well, it’s that time of year again when I decide to crack open Blender and try my hand at jumping back into 3D. I have always loved 3D, love the idea of modeling, texturing, rendering, etc. The whole thing has always fascinated me. I have tried many programs in the past, and Blender has always been there. Back in the mid-2000s, I would browse the books in the computer aisle at Barnes and Noble and picked up the Blender books more than a few times with much consideration.
Don’t look too far back
Looking back, I have had a few half-hearted attempts, and even more recently, I had not been taking my adventures in 3D as seriously as I could. So, I decided to jump back in with much more intent. For my latest adventure, I recall a bookmarking CrossMindStudio on YouTube last year. I enjoyed the look that the artist displayed; it was a seven-day course. I thought I might go through it pretty quickly, but it turns out that the seven-day course took me much longer than seven days :)
Day 1
Day 1 was spent learning some of the basics of modeling with primitives and basic shading. Setting up some scenes and basic lighting. Some introduction to modifiers.
Day 2


Day 2 had me creating some basic models with the vertex modeling. Adding subdivision surfaces and a quick lighting set ups. Be prepared to rewind and pause a few times. The video was two hours but it took an entire Saturday for this one.
Day 3
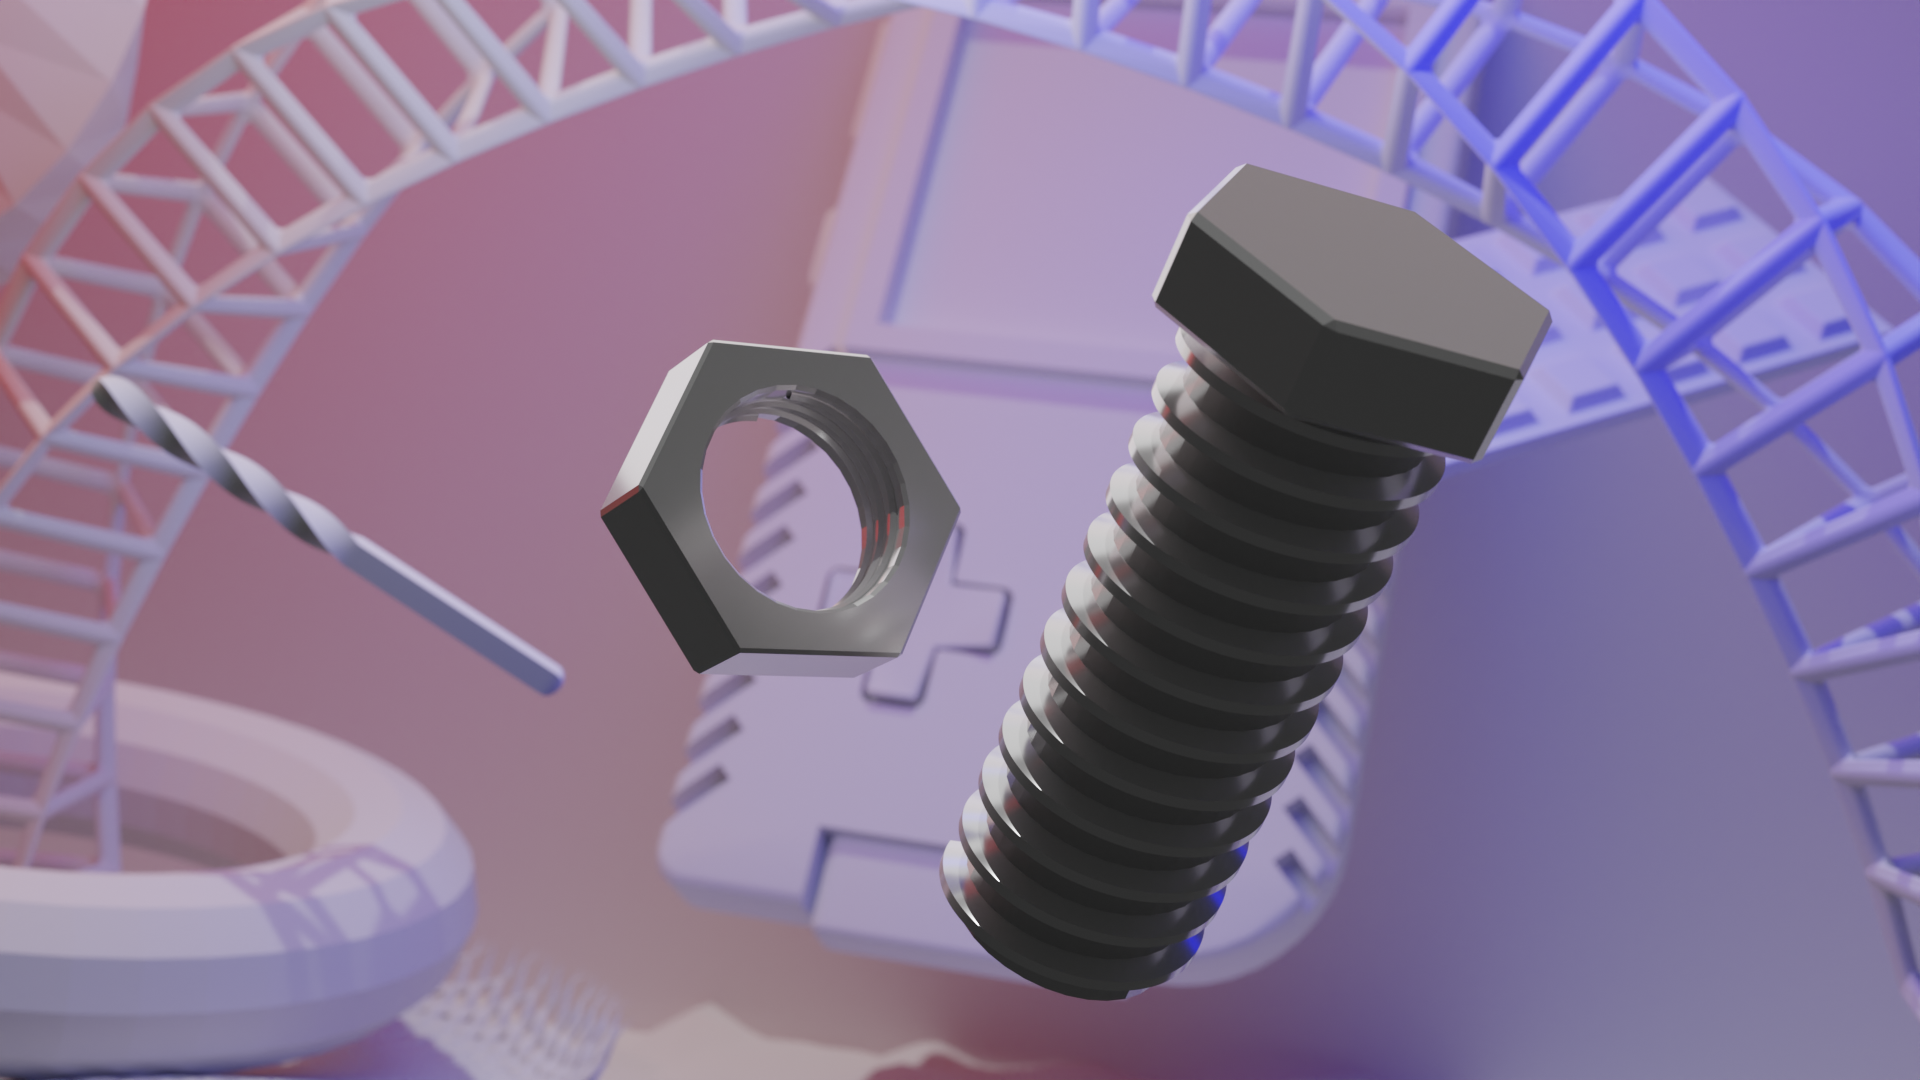
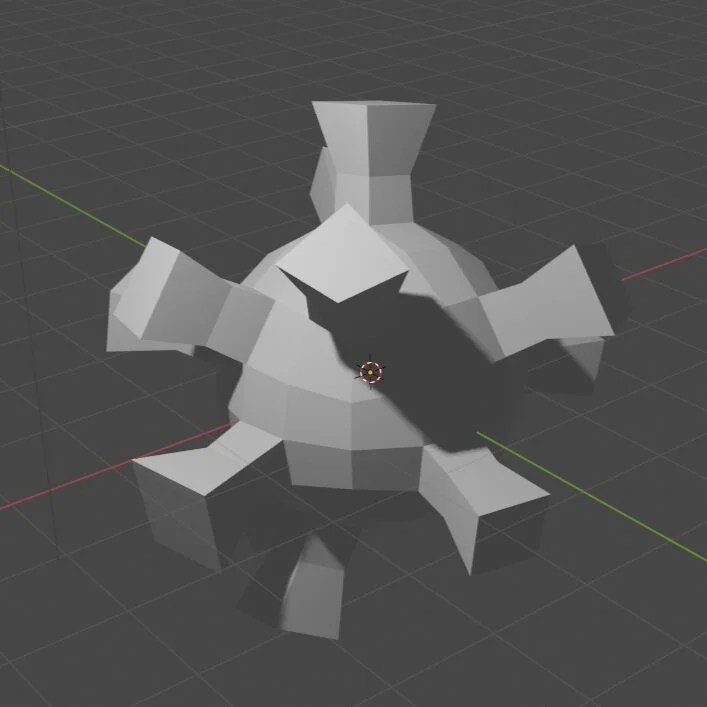
Day 3, the tutorials explored modifiers in more detail and it really opened my eyes to new forms of modeling with booleans and different details.
Day 4


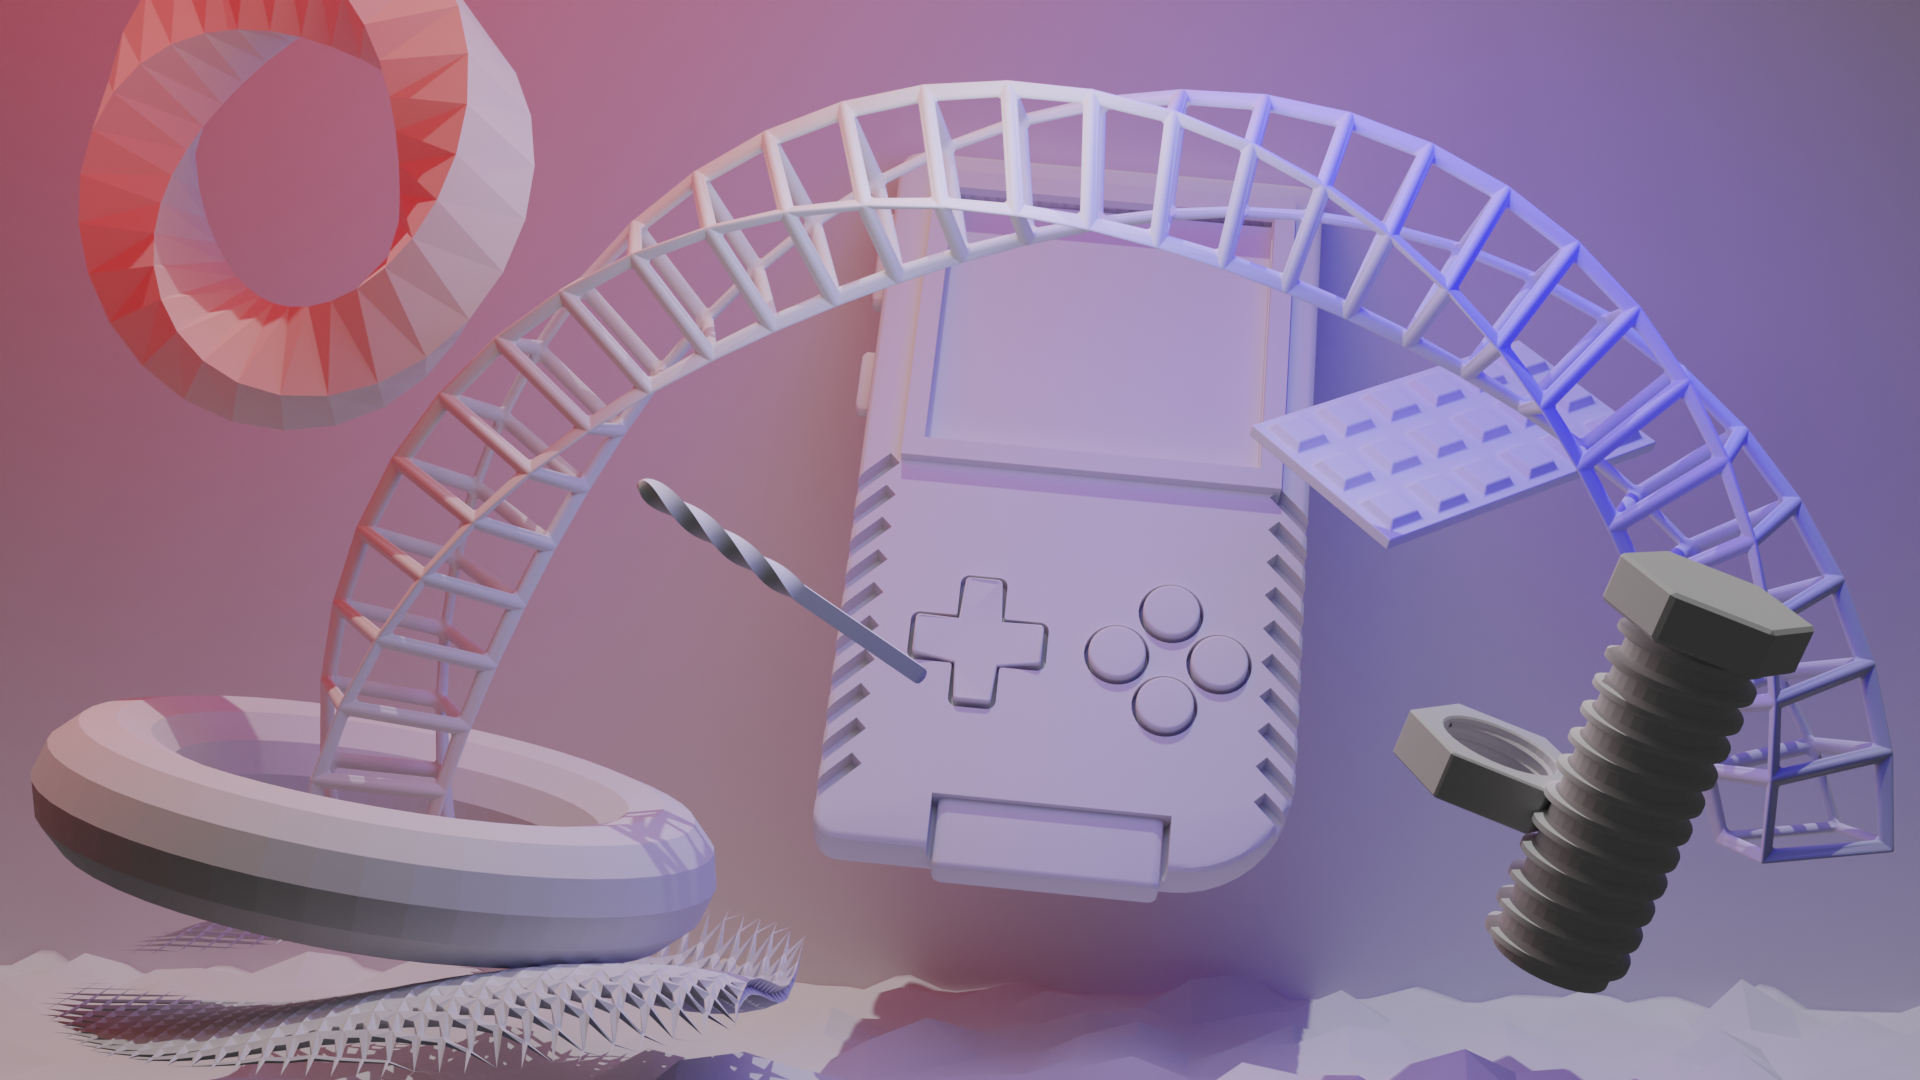
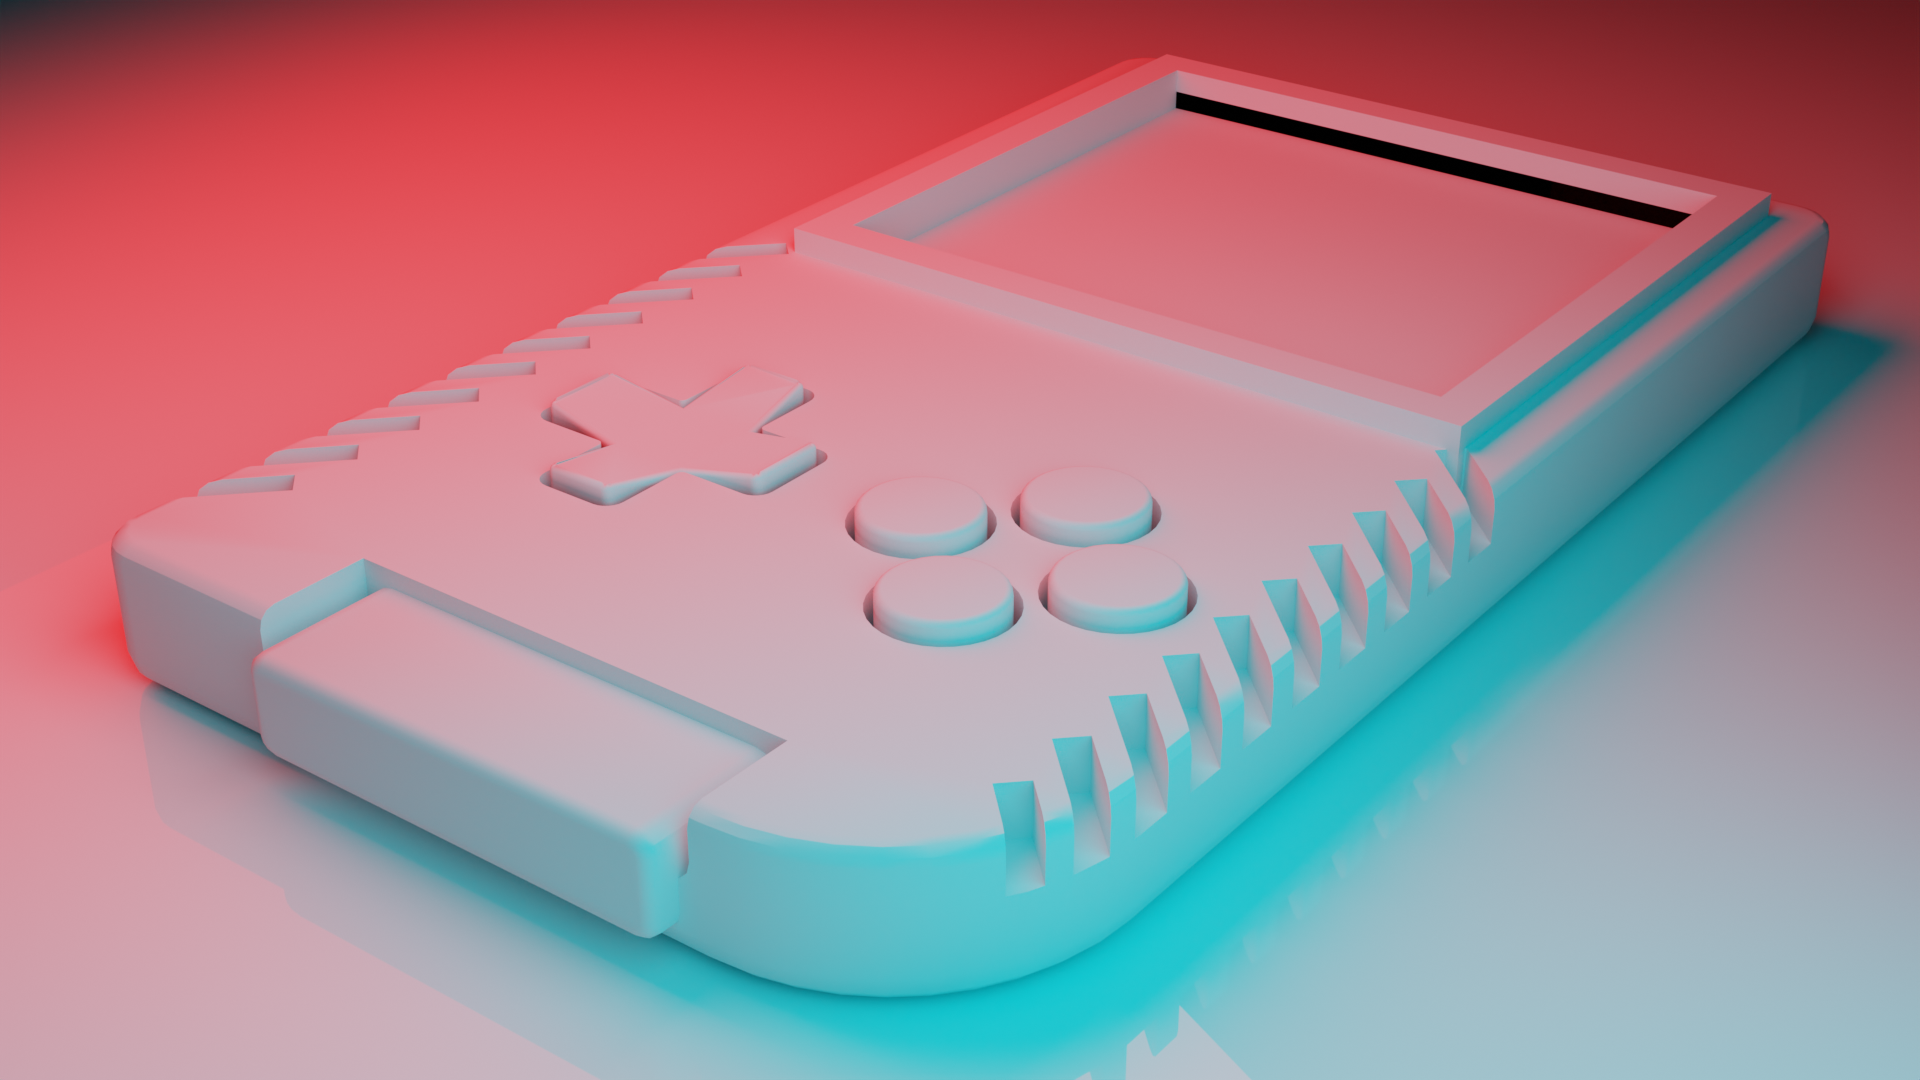
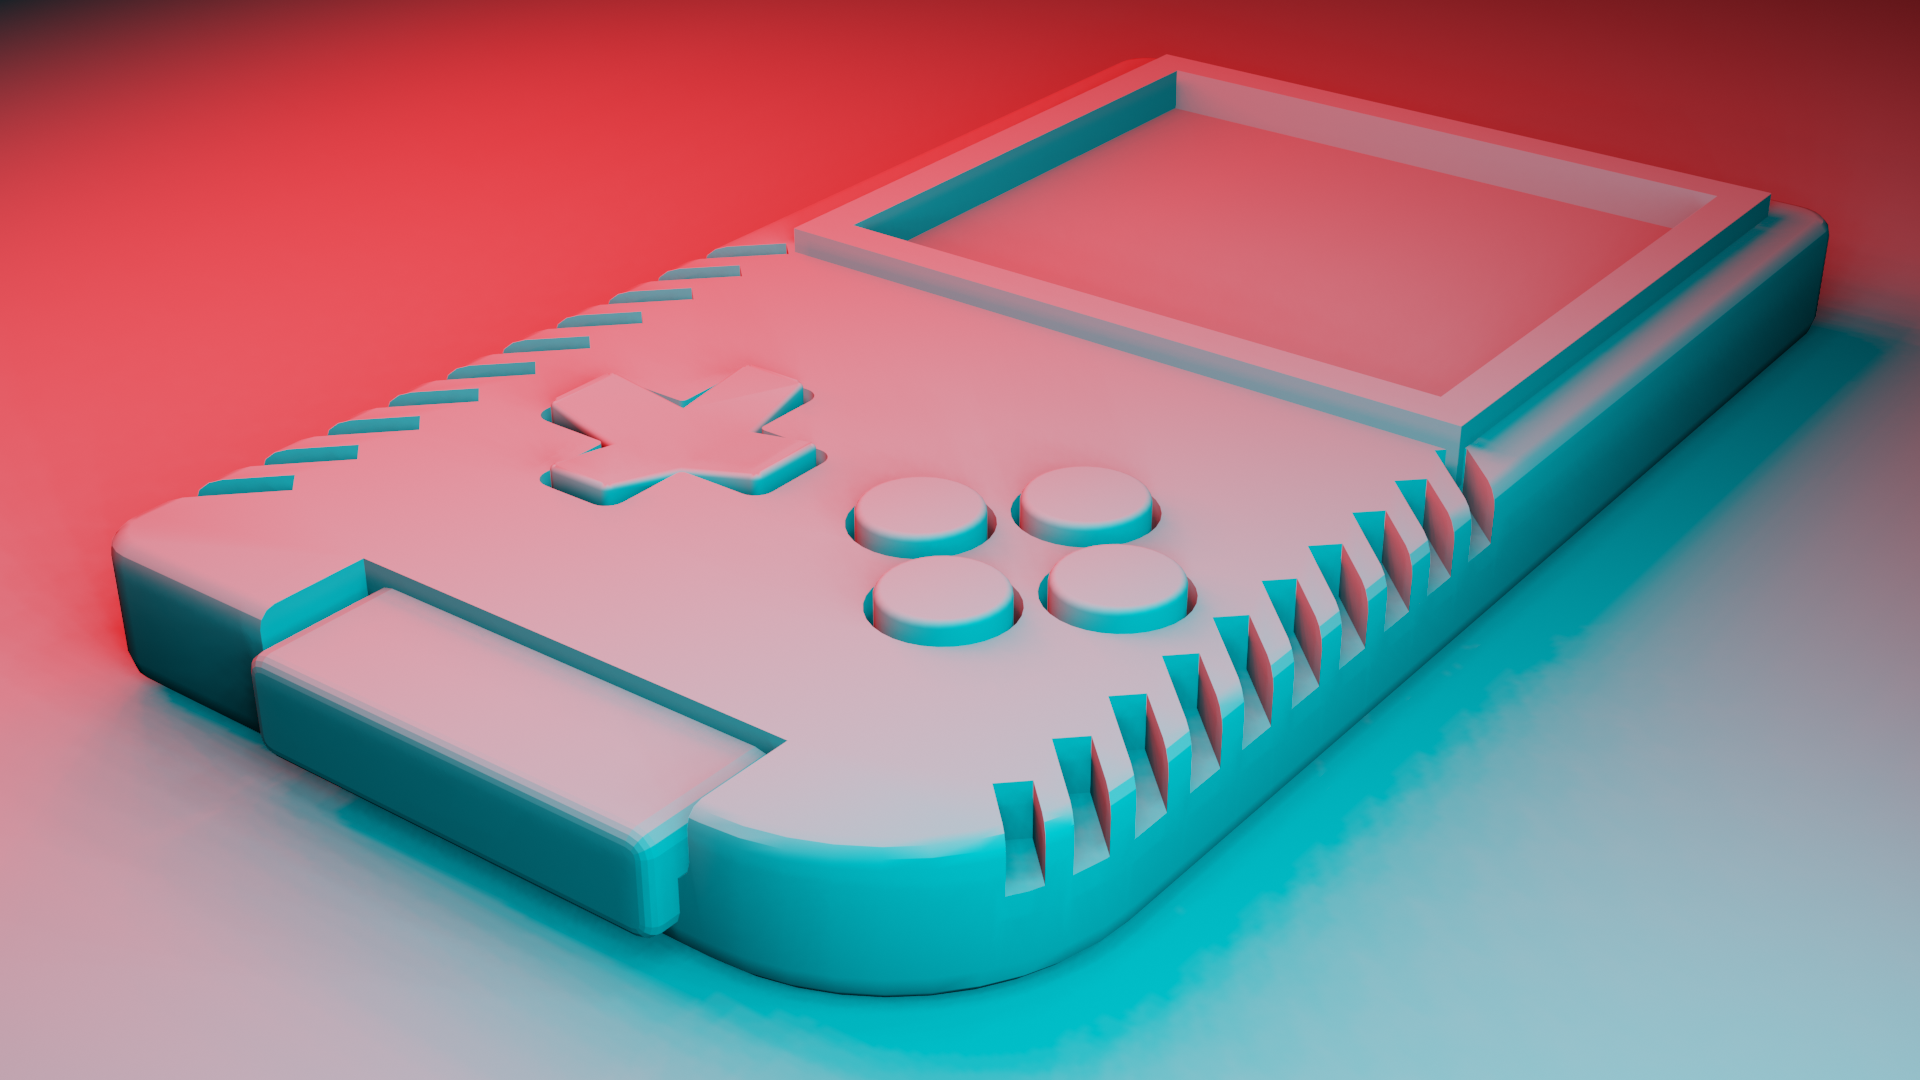
Shaders, textures, and UVs! Oh my! This is where I always had issues with texturing, have always eluded me with Blender. I really enjoyed this part of the series. Check out that cheese!
Day 5
Lighting is so important! So important that I forgot to render any images from this part of the series. If you are interested in seeing this, go check it out! I will still be here when you get back.
Day 6


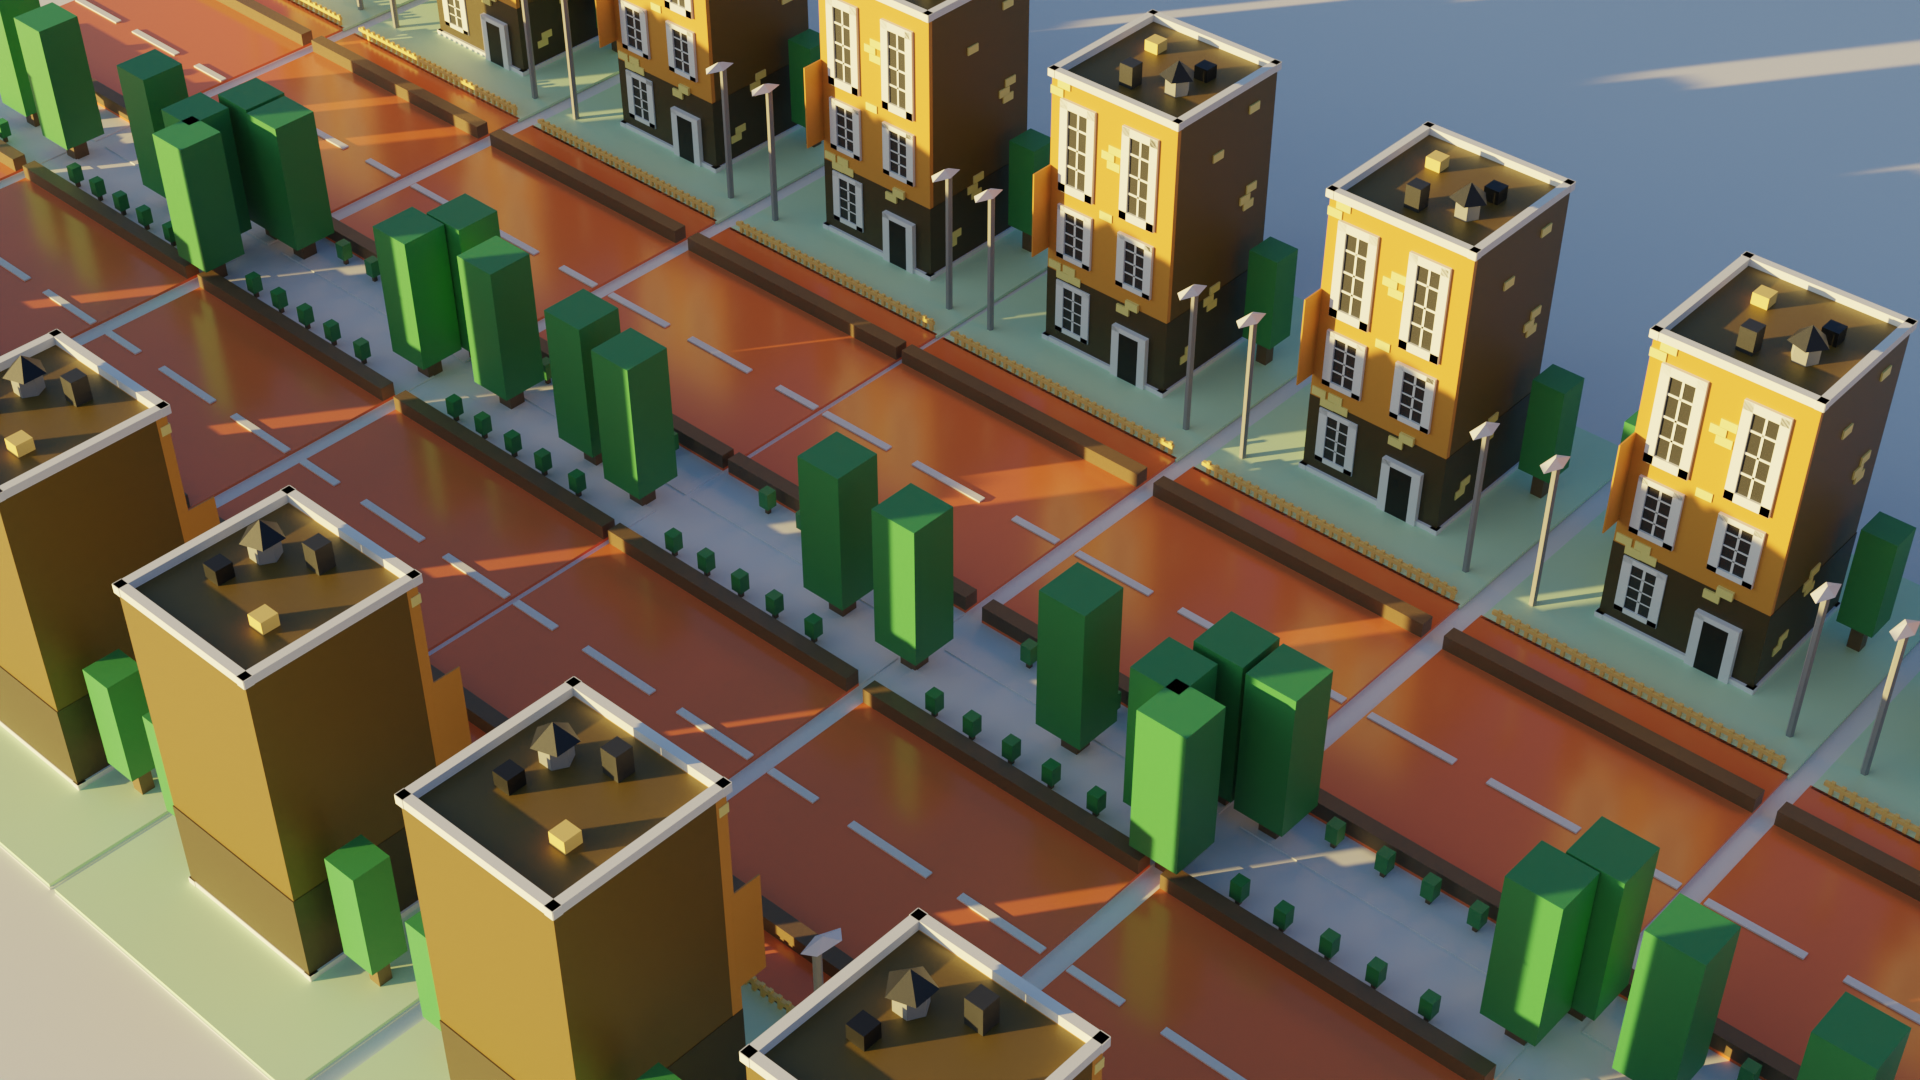
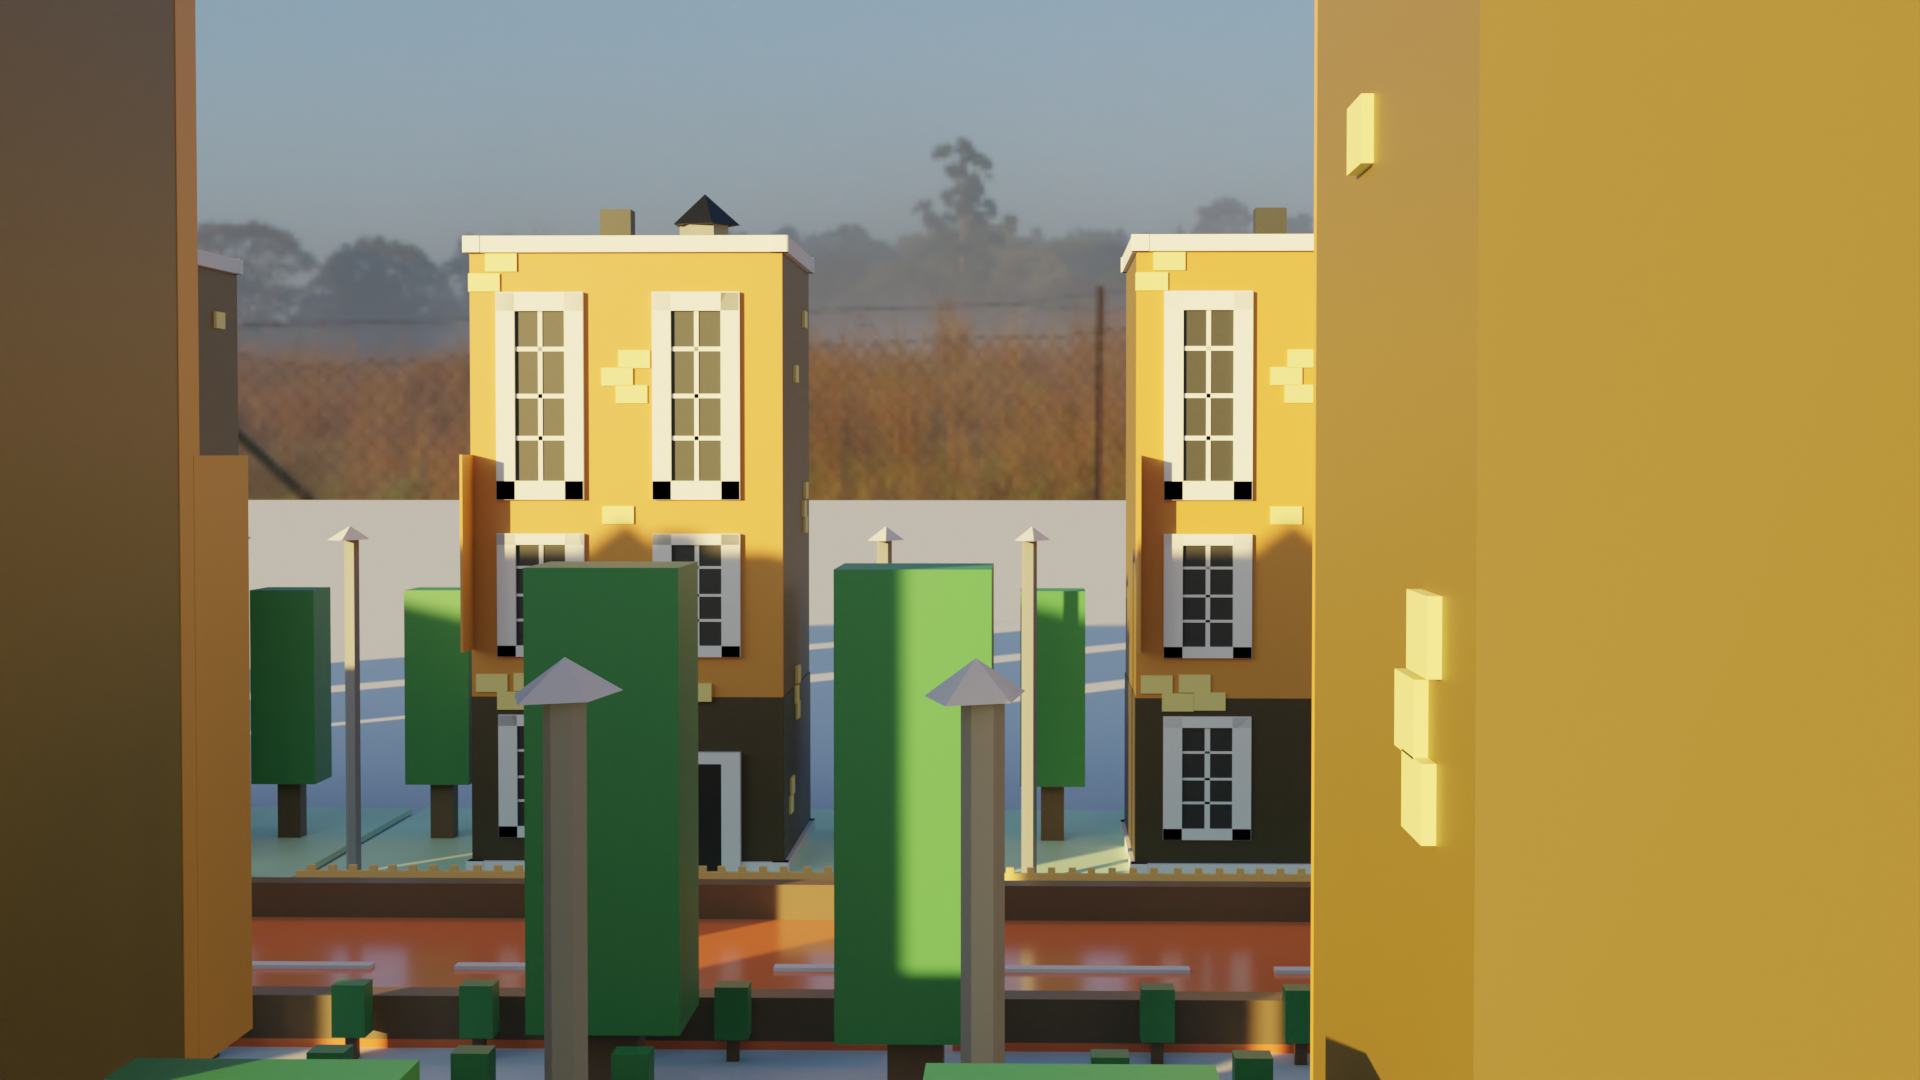
This is where things get much more interesting. Putting everything you have learned from the previous days, you are asked to model and render this toy-looking aircraft. I got carried away on adding textures and didn’t even realize how much it looked like a Coke can until my wife said something about it.
Day 7
The last part of the series was where you light, add volumetric clouds and animate the plane. This part will help you understand parenting and how that relationship works within Blender. Here is seven seconds of the plane animated. Note that I used a different tutorial for different cloud effects.
Conclusion
This tutorial series was more in-depth than anything I purchased on LinkedIn Learning, and I highly recommend downloading the author's resources. Don’t forget to visit his page using the link below.